I often advise people shooting video on Panasonic cameras to go into the picture profile settings and crank the noise reduction setting as far down as it’ll go…but why do I do this? Some people are perplexed by the suggestion because “noise” has become the greatest dirty word in the modern photographer’s world, a thing to be avoided at all costs because it makes your pictures look unprofessional and crappy.
By now, anyone reading this is probably familiar with my disdain for most YouTube photo and video “experts” due to their handing out of misguided or just plain wrong advice that newbies will blindly trust due to their subscriber and view counts. One of the things that’s basically assumed to be a hard fact in all discussions of how to shoot good video is that image noise must be avoided at all costs, usually leading to advice about lowering the ISO setting as far as possible to reduce the noise in the image. It’s not a bad thing to try to capture images with less noise as long as your overall photography doesn’t suffer as a result. A prime example of a contrary situation is shooting indoor sports with big telephoto lenses. which requires fast shutter speeds to avoid motion blur ruining the shot, so it’s better to use high ISOs to keep the shutter speed down and accept the added noise.
(Side note: the feature on your camera called “long exposure noise reduction” should be left on at all times. Long exposure photography suffers from unique sensor heat noise that can only be “caught” at the time the picture is taken. It works by closing the shutter and taking an equally long exposure to the photo you just took, then smoothing over any non-black pixels seen in the “dark frame.” It can profoundly increase the quality of your long exposure photography if you have the time to wait for it to do its magic.)
It’s true that noise can make an image look bad and sometimes renders it unusable (shoot in ISO 25600 on a $500 camera and you’ll see what I mean.)

Referring to “noise” is a little bit too generic, though. Noise is an unavoidable phenomenon in imaging, no matter how good your camera gear is. Yes, less apparent noise tends to make a photo look better. What’s missing is this crucial distinction: there’s a big difference between stopping noise from being captured and removing noise from an image that’s already been captured. Reducing the captured noise can be achieved with larger sensors, lower ISO settings, and newer technology (such as BSI CMOS sensors) that does a better job of capturing light with less noise, but even with a huge sensor at ISO 100 and a ton of light available, you’ll still have some noise in the image because of the unavoidable random behavior of photons.
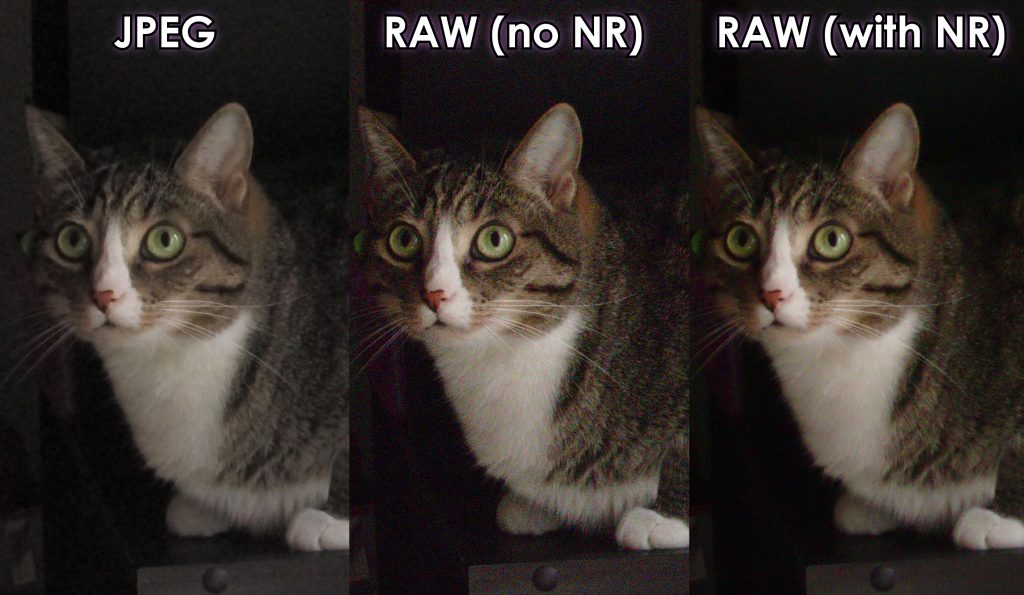
Most cameras that aren’t super cheap can shoot photos in two formats: JPEG and RAW (and usually an option exists to shoot both at the same time.) JPEG shooting gives you a fully processed image while RAW is literally the raw sensor data in all of its sometimes unnecessary detail. There are a few reasons that RAW files give photographers a lot more latitude to make changes after taking a photo, but the one that’s relevant to this discussion is a complete lack of in-camera processing in a RAW file. Part of in-camera image processing usually includes some noise reduction processing.
How does noise reduction work? There’s a lot of math and science stuff involved, but the simple version is that the image processor looks for individual pixels that are significantly different from their neighboring pixels and “smooths” (blurs) over them using the values of the neighboring pixels to take a guess at what would have been in that pixel’s spot if the noisy pixel wasn’t there. (Side note: this is how “hot pixel removal” or “dark frame subtraction” works, too: fill in the stuck pixel with a mix of neighboring pixel values so it doesn’t look like a hot pixel.) This can improve the apparent quality of an image, particularly if the image itself is pretty large and it’ll be shown as a much smaller image, such as a 4×6 print or on a smartphone screen, which is a big reason that smartphone photos use heavy noise reduction and why smartphone photos can sometimes look so good on a smartphone screen that it seems like buying a “real camera” would be a complete waste of money. Zoom in a little on that beautiful smartphone picture, however, and the picture starts to fall apart due to the complete lack of fine detail.

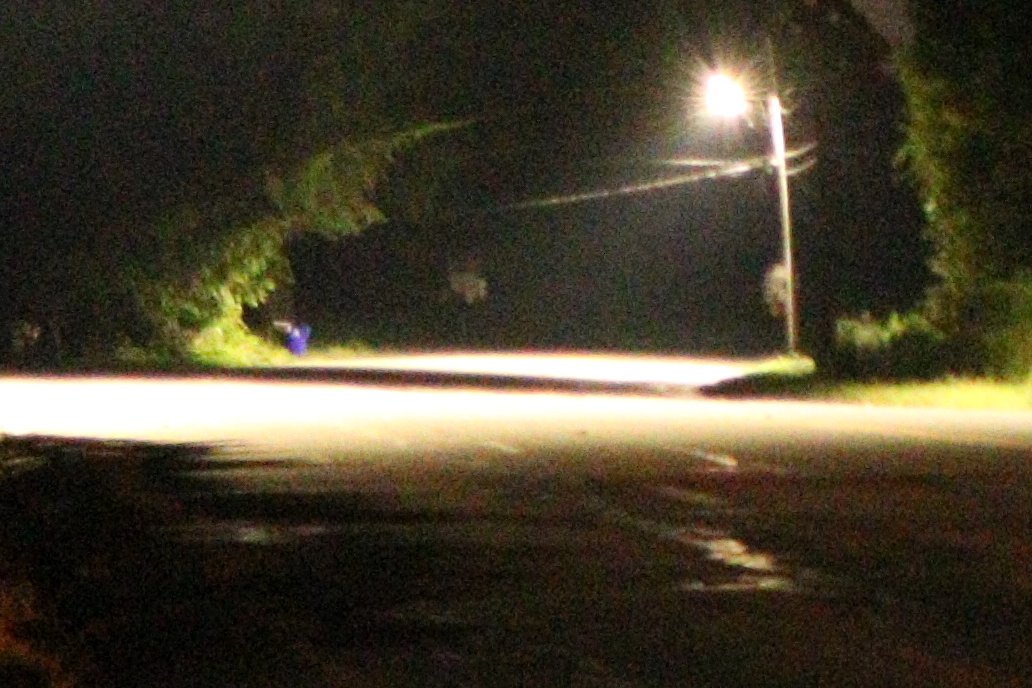
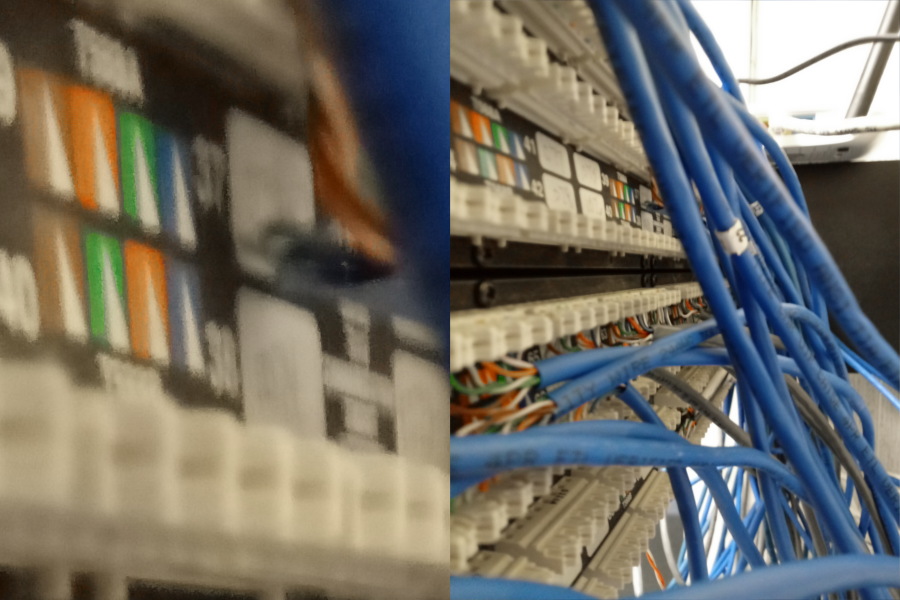
The benefits of shooting RAW photos or shooting video with in-camera noise reduction minimized become clear when you see some examples. As with all things, use of noise reduction is a trade-off. Sometimes the noise really is so distracting that the image looks better with noise reduction. Even in those cases, you’re better off doing the noise reduction in software rather than letting the camera do it. Camera processors have limited power and must get the work done in a very short amount of time, but your computer is more powerful, has no such time constraints, and can use much better algorithms to process the noise away. Any RAW image developing program can do NR on photos; for video, Adobe After Effects has a noise removal effect that can be very helpful. Ideally, you don’t want to do any NR at all, so turn it off as much as your camera allows and only use NR when the image noise is so bad that the image suffers heavily as a result. The flip side of this advice is that turning off NR (particularly for video work) can greatly increase your apparent production value because of the amount of fine detail that’s retained.


